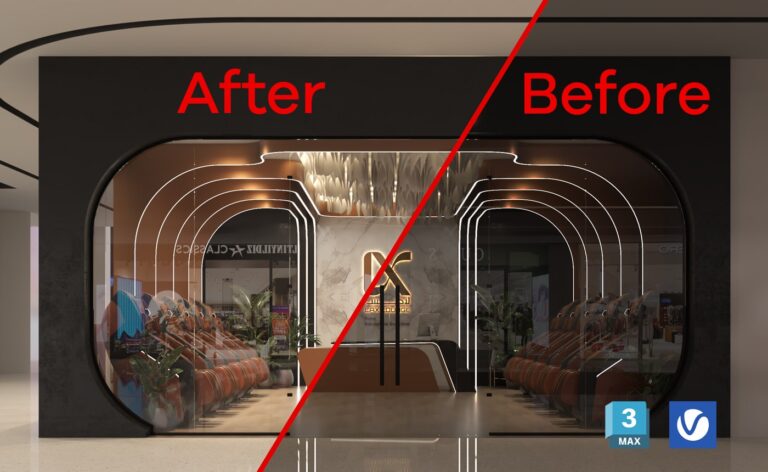
Rendering is one of the most time-consuming parts of any 3D visualization process—especially when working on high-end interior or architectural scenes. If you’re a 3ds Max and V-Ray user, you’ve probably experienced painfully slow renders that drain your system’s resources and your patience.
Whether you’re an interior designer, architect, or 3D artist, optimizing your V-Ray render settings is essential for maintaining a fast and efficient workflow. In this post, we’ll break down 7 practical tricks to speed up your V-Ray renders without compromising on visual quality.
Why Is V-Ray So Slow in 3ds Max?
Before diving into solutions, let’s understand the problem. V-Ray can become extremely slow due to:
- High-resolution textures
- Complex geometry
- Unoptimized lighting setups
- Heavy global illumination calculations
- Uncontrolled render settings
The good news? These issues can be tackled easily with some smart tweaks.
1. Use V-Ray’s Progressive Rendering for Test Renders
When you’re in the testing and lighting adjustment phase, there’s no need to use full-quality renders. Instead, switch to Progressive mode under Image Sampler settings. It gives you a fast visual preview and helps you make creative decisions quickly.
How to enable:
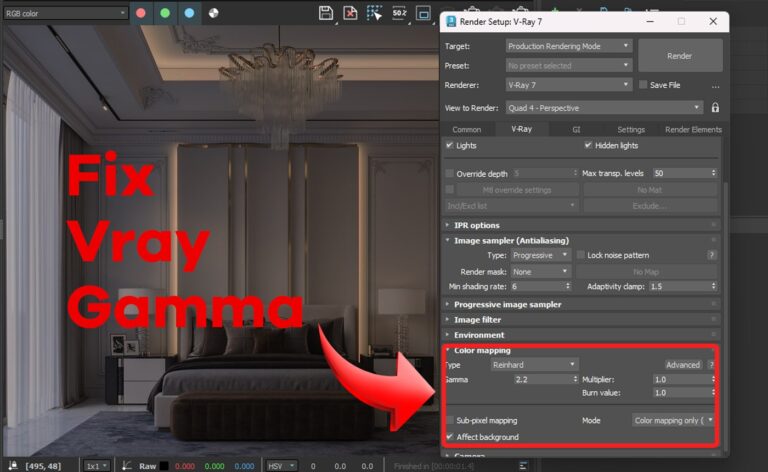
- Go to Render Setup > V-Ray > Image Sampler (Antialiasing).
- Set Type to Progressive.
2. Lower Your Noise Threshold
A common reason for long render times is using a very low Noise Threshold. While a low threshold gives you cleaner results, it also means V-Ray has to keep rendering longer to reduce noise.
Recommended setting:
- For tests:
0.01(Default) - For final renders:
0.007 – 0.005
3. Use V-Ray Denoiser to Speed Up Renders
The V-Ray Denoiser is a powerful tool that allows you to reduce render noise without increasing render time. You can render with a higher noise threshold (which is faster), and then let the Denoiser clean up the image.
Where to find it:
- Render Elements tab > Add > VRayDenoiser
Choose a denoiser type (default or NVIDIA AI if you have an RTX card) and get cleaner images in a fraction of the time.
4. Optimize Your Light Setup
Using too many light sources or relying heavily on high-res HDRIs can drastically slow down your rendering. Here’s how to make it lighter:
- Replace multiple small lights with V-Ray Light Portals for interiors.
- Use smaller HDRIs for lighting and higher resolution only for reflections.
- Disable unnecessary lights in the scene.
5. Use V-Ray Proxy for Heavy Geometry
Large assets like trees, furniture, or imported CAD models can increase scene complexity. Convert these into V-Ray Proxy objects to dramatically improve viewport and render performance.
Steps:
- Select the object.
- Right-click > V-Ray > Convert to V-Ray Proxy.
V-Ray will now load that geometry only at render time, saving memory and reducing export time.
6. Limit Your Image Resolution During Tests
Many designers unknowingly test their scenes at full 4K or higher resolutions during lighting and material previews. This is unnecessary and will drastically slow down your workflow.
Best practice:
- Use 640×480 or 800×600 for tests.
- Reserve HD or 4K only for the final production render.
7. Avoid Unnecessary Render Elements
Render Elements are great for post-production, but each element adds to the render time. When you don’t need them (especially during test renders), turn them off.
Only enable essential ones like:
- VRayDenoiser
- VRayZDepth
- VRayReflection (if needed for compositing)
Bonus Tip: Optimize Displacement Maps
Displacement maps can look amazing—but they can also kill your render speed if not optimized. Always:
- Use lower subdivisions
- Convert displacement to normal or bump maps if possible
- Use 2D Displacement instead of 3D when surface doesn’t require full geometry
Final Thoughts
V-Ray is a powerful renderer, but it demands smart handling—especially when working in complex scenes. By applying the 7 optimization tips we’ve covered, you’ll notice faster render times, smoother test workflows, and more reliable results without sacrificing quality.
Want to Learn More?
If you’re serious about mastering V-Ray and 3ds Max for architectural visualization, don’t stop here!
👉 Subscribe to my YouTube channel — I share weekly tutorials, rendering tricks, and workflow secrets specifically for interior designers, architects, and 3D artists.
🔔 Hit the bell icon to never miss a time-saving tip! disappointed.