ZKAcademy — 3ds Max + V-Ray Course

From Raw Model
to Stunning Render.

14 modules. 8 complete scenes. One structured workflow that takes you from 3ds Max basics to professional-grade architectural visualization.

Scroll
3ds Max V-Ray Interior Rendering Exterior Rendering Photoshop Post Production Chaos V-Ray Archviz Lighting Materials VFB Cryptomatte Caustics GI Rendering
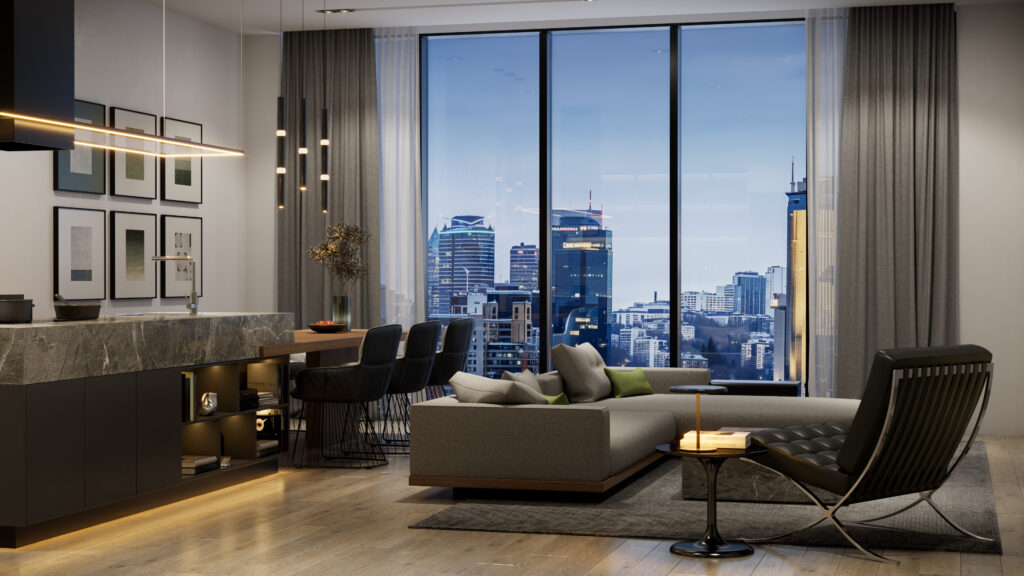
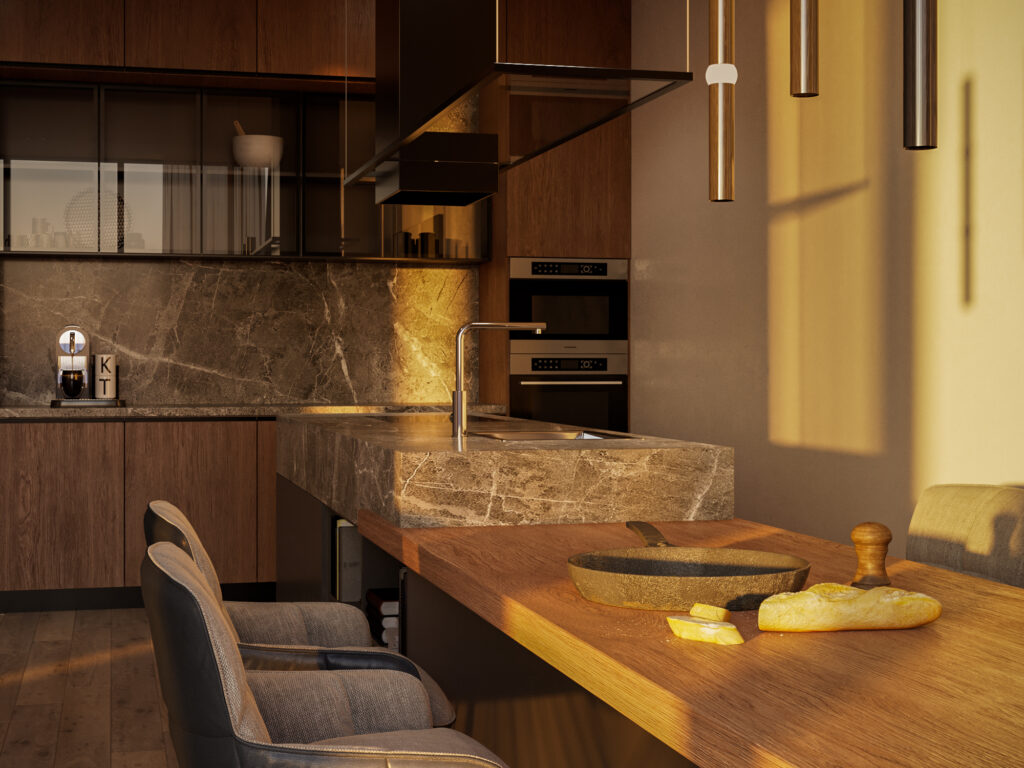
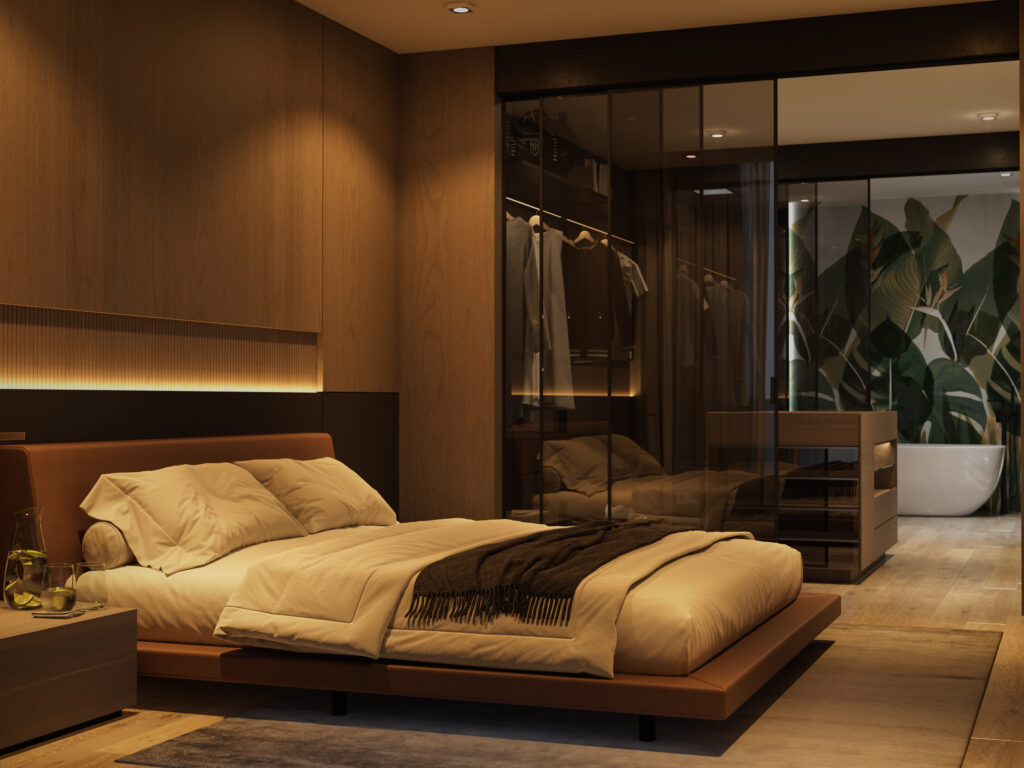
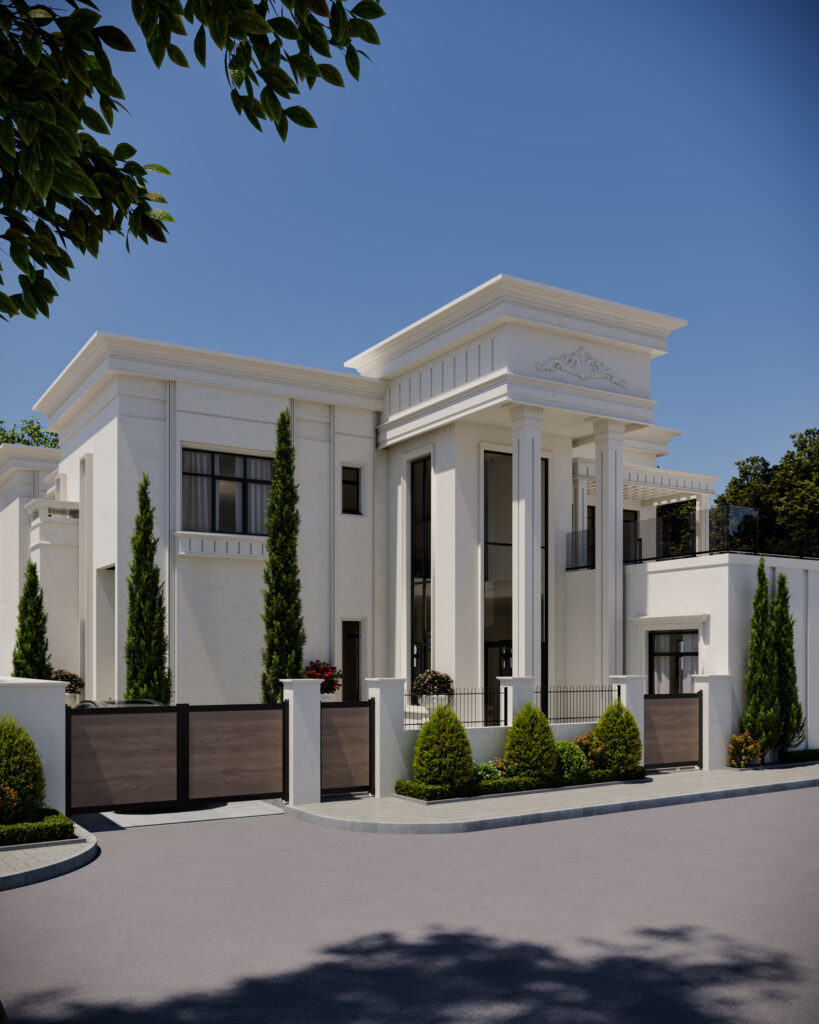
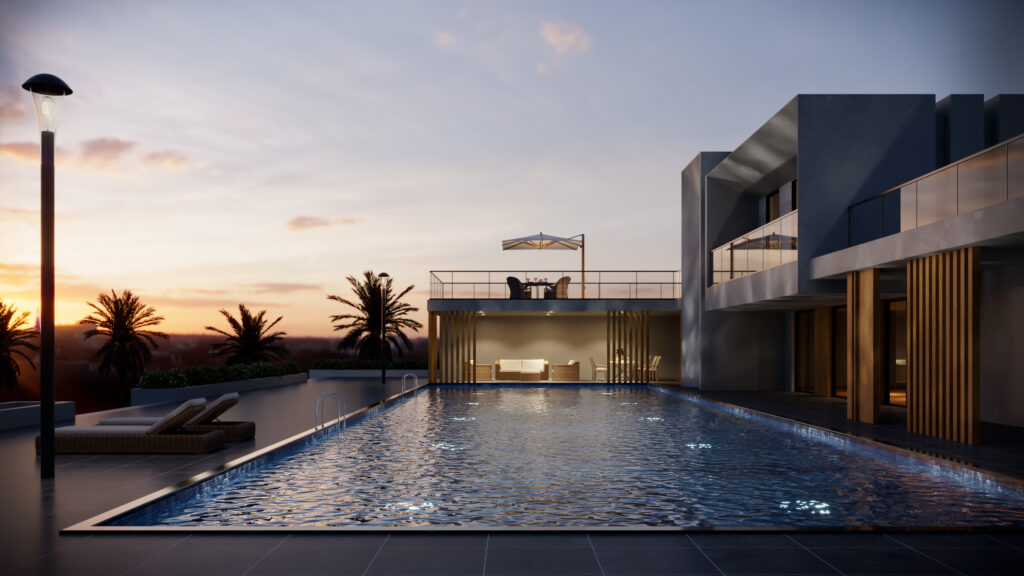
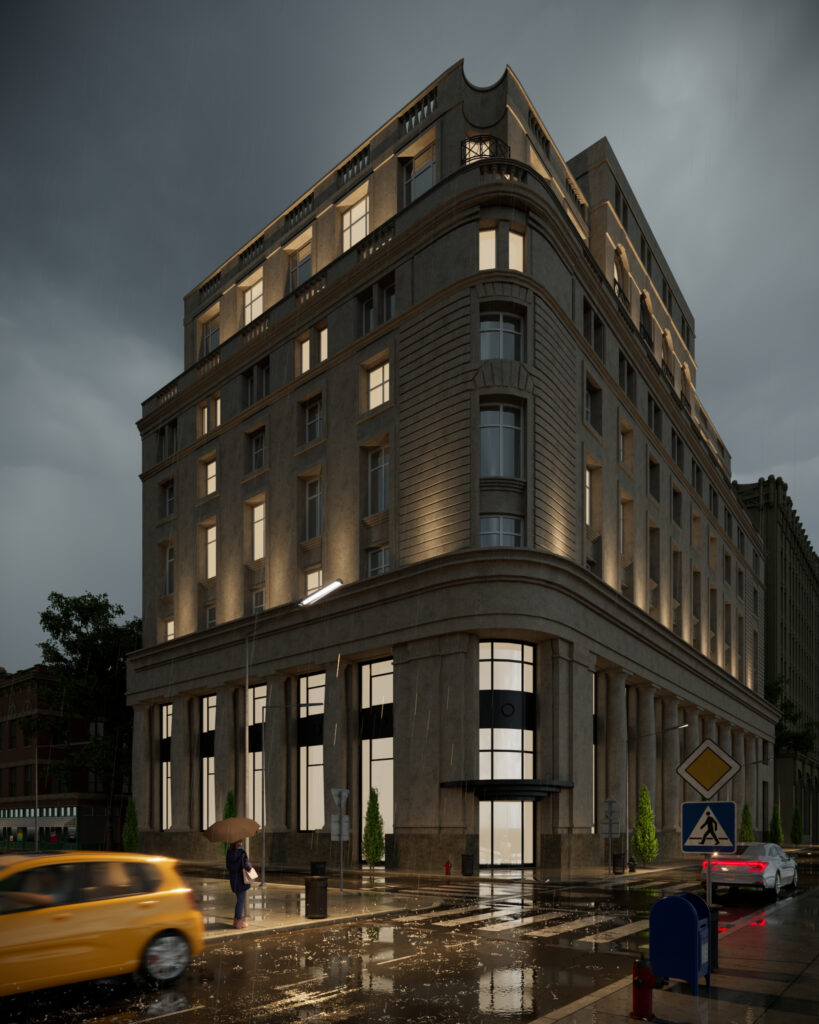
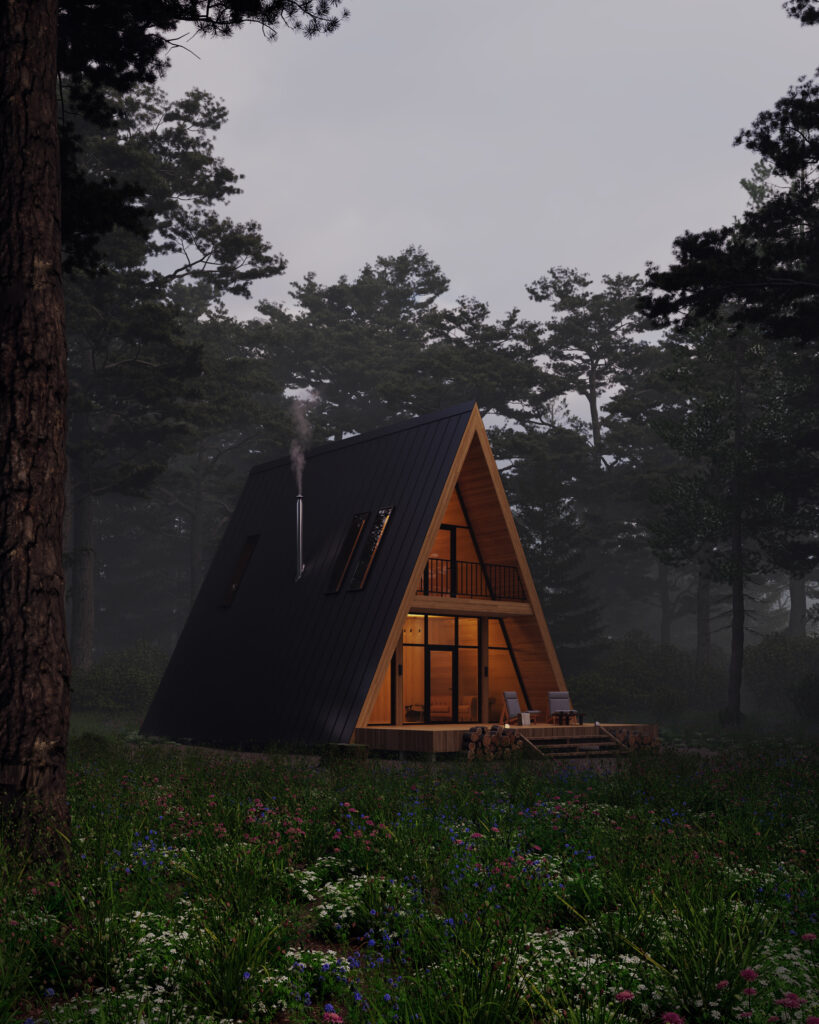
Living room day to night render Kitchen golden hour render Bedroom multi-zone lighting render Villa facade exterior render Modern villa pool blue hour render Urban townhouse rainy night render A-frame cabin misty morning render Living room day to night render Kitchen golden hour render Bedroom multi-zone lighting render Villa facade exterior render Modern villa pool blue hour render Urban townhouse rainy night render A-frame cabin misty morning render

The Full Curriculum

14 modules. One path from zero to portfolio.

First you learn the tools and model every scene yourself. Then you light, texture and finish 8 portfolio renders, each with a different story and technical focus.

14modules
93lessons
8portfolio scenes
Part 1

Foundations

Modules 01 to 06 · 54 lessons. Learn 3ds Max and V-Ray properly, and model the villa and interior you will render in Part 2.

  • 3ds Max interface
  • 3ds Max workspace
  • Navigating inside 3ds Max
  • Move, rotate and scale
  • Duplicating in 3ds Max
  • Units setup and scene scale
  • Layers, groups and selection sets
  • Pivot points and align tools
  • How 3ds Max builds geometry
  • Creating splines
  • Editing a spline
  • Extrude and bevel
  • Sweep and loft
  • Editable Poly fundamentals
  • Core polygon modeling tools
  • Essential modeling modifiers
  • Importing and setting up the plans
  • Modeling walls
  • Modeling the floors
  • Modeling windows
  • Modeling architectural elements
  • Entrance and balconies
  • Modeling cornices
  • Modeling railings
  • Modeling window strips
  • Landscape modeling
  • Introduction
  • Modeling the shell
  • Curtain wall modeling
  • Kitchen cabinet modeling
  • Kitchen island modeling
  • TV wall modeling
  • L sofa modeling, part 1
  • L sofa modeling, part 2
  • Pillow modeling
  • Curtains modeling
  • Carpet and coffee table
  • Floor and ceiling
  • Importing assets to the scene
  • Setting up Connecter for 3ds Max
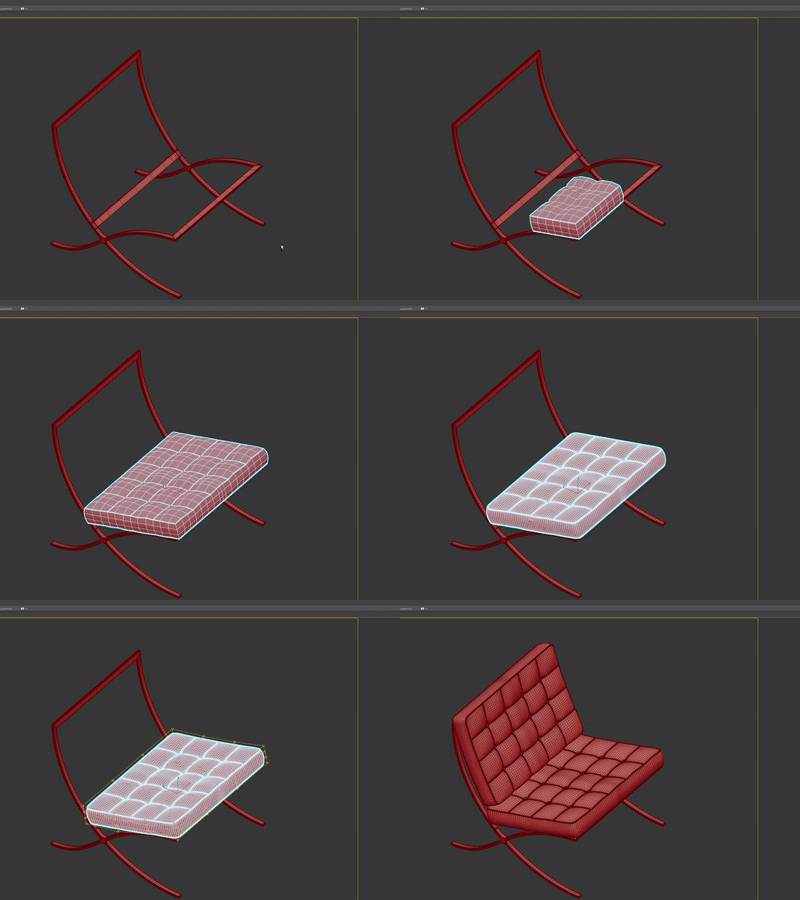
  • Barcelona Chair, part 1
  • Barcelona Chair, part 2
  • Setting V-Ray as the active renderer
  • VFB interface, history and color corrections
  • The Render Elements panel
  • Image sampler and noise threshold
  • Global illumination explained
  • Output settings
  • V-Ray materials that look real
  • UV mapping done right
  • See like a camera: the V-Ray Physical Camera
  • Light with purpose
  • Composition that directs the eye
  • The story behind the image

You build every scene from scratch.

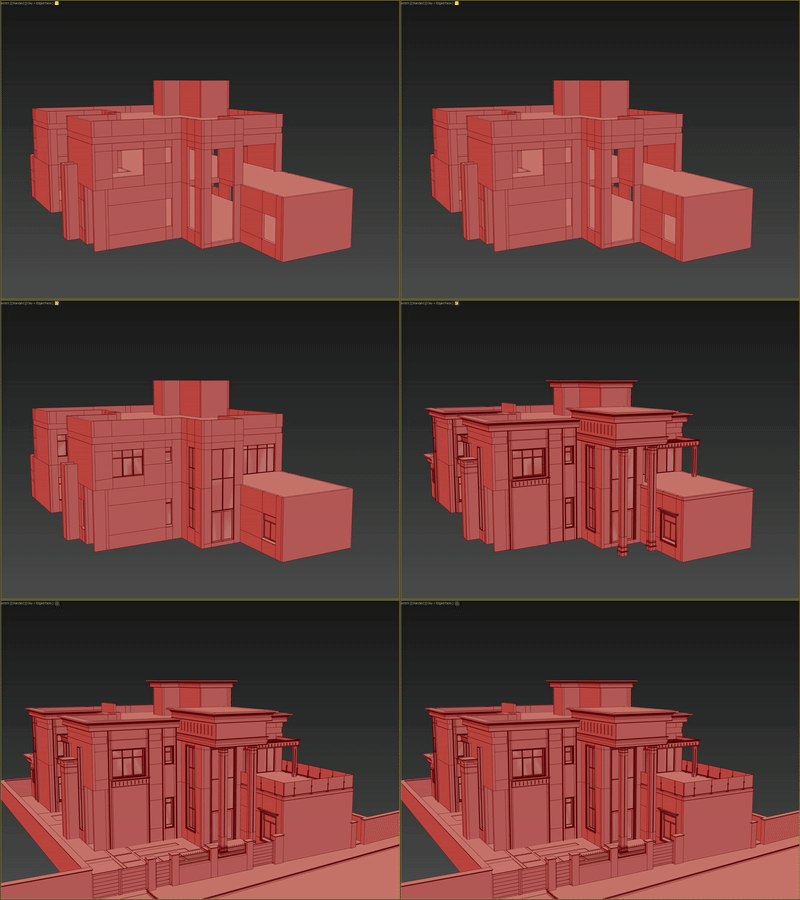
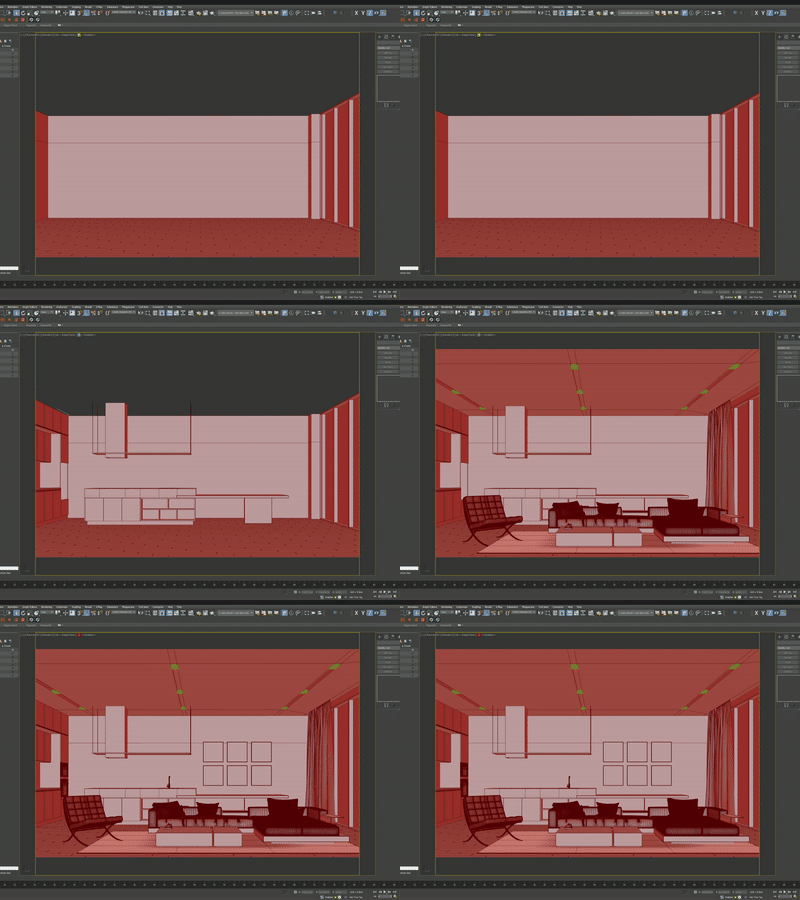
Before a single V-Ray setting is touched, you model a full neoclassical villa and a complete modern interior yourself, down to the furniture.

Neoclassical villa 3D modeling steps
Neoclassical VillaModule 03
Modern interior 3D modeling steps
Modern InteriorModule 04
Barcelona chair 3D modeling steps
Barcelona ChairModule 04
Part 2

The 8 Scenes

Modules 07 to 14 · 39 lessons. Every module starts with a blank scene and ends with a finished, portfolio-ready render.

Same workflow. Every module.

Each practical module follows the same five-step structure so the method becomes second nature, not just a one-time technique.

01
Camera + Story
Composition, focal point, depth of field, and what the render needs to communicate before anything is lit.
02
Lighting
Building the lighting hierarchy from dominant source to accent. Every module covers a different lighting scenario.
03
Materials
VRayMtl from scratch. Each scene introduces new surfaces: stone, glass, fabric, leather, wet floors, translucency.
04
Render Settings
Sampler, GI, denoiser, color mapping — tuned to the specific demands of each scene, not generic defaults.
05
Post-Production
V-Ray VFB, render elements, Cryptomatte masking, and Photoshop finishing — every module includes a complete post lesson.
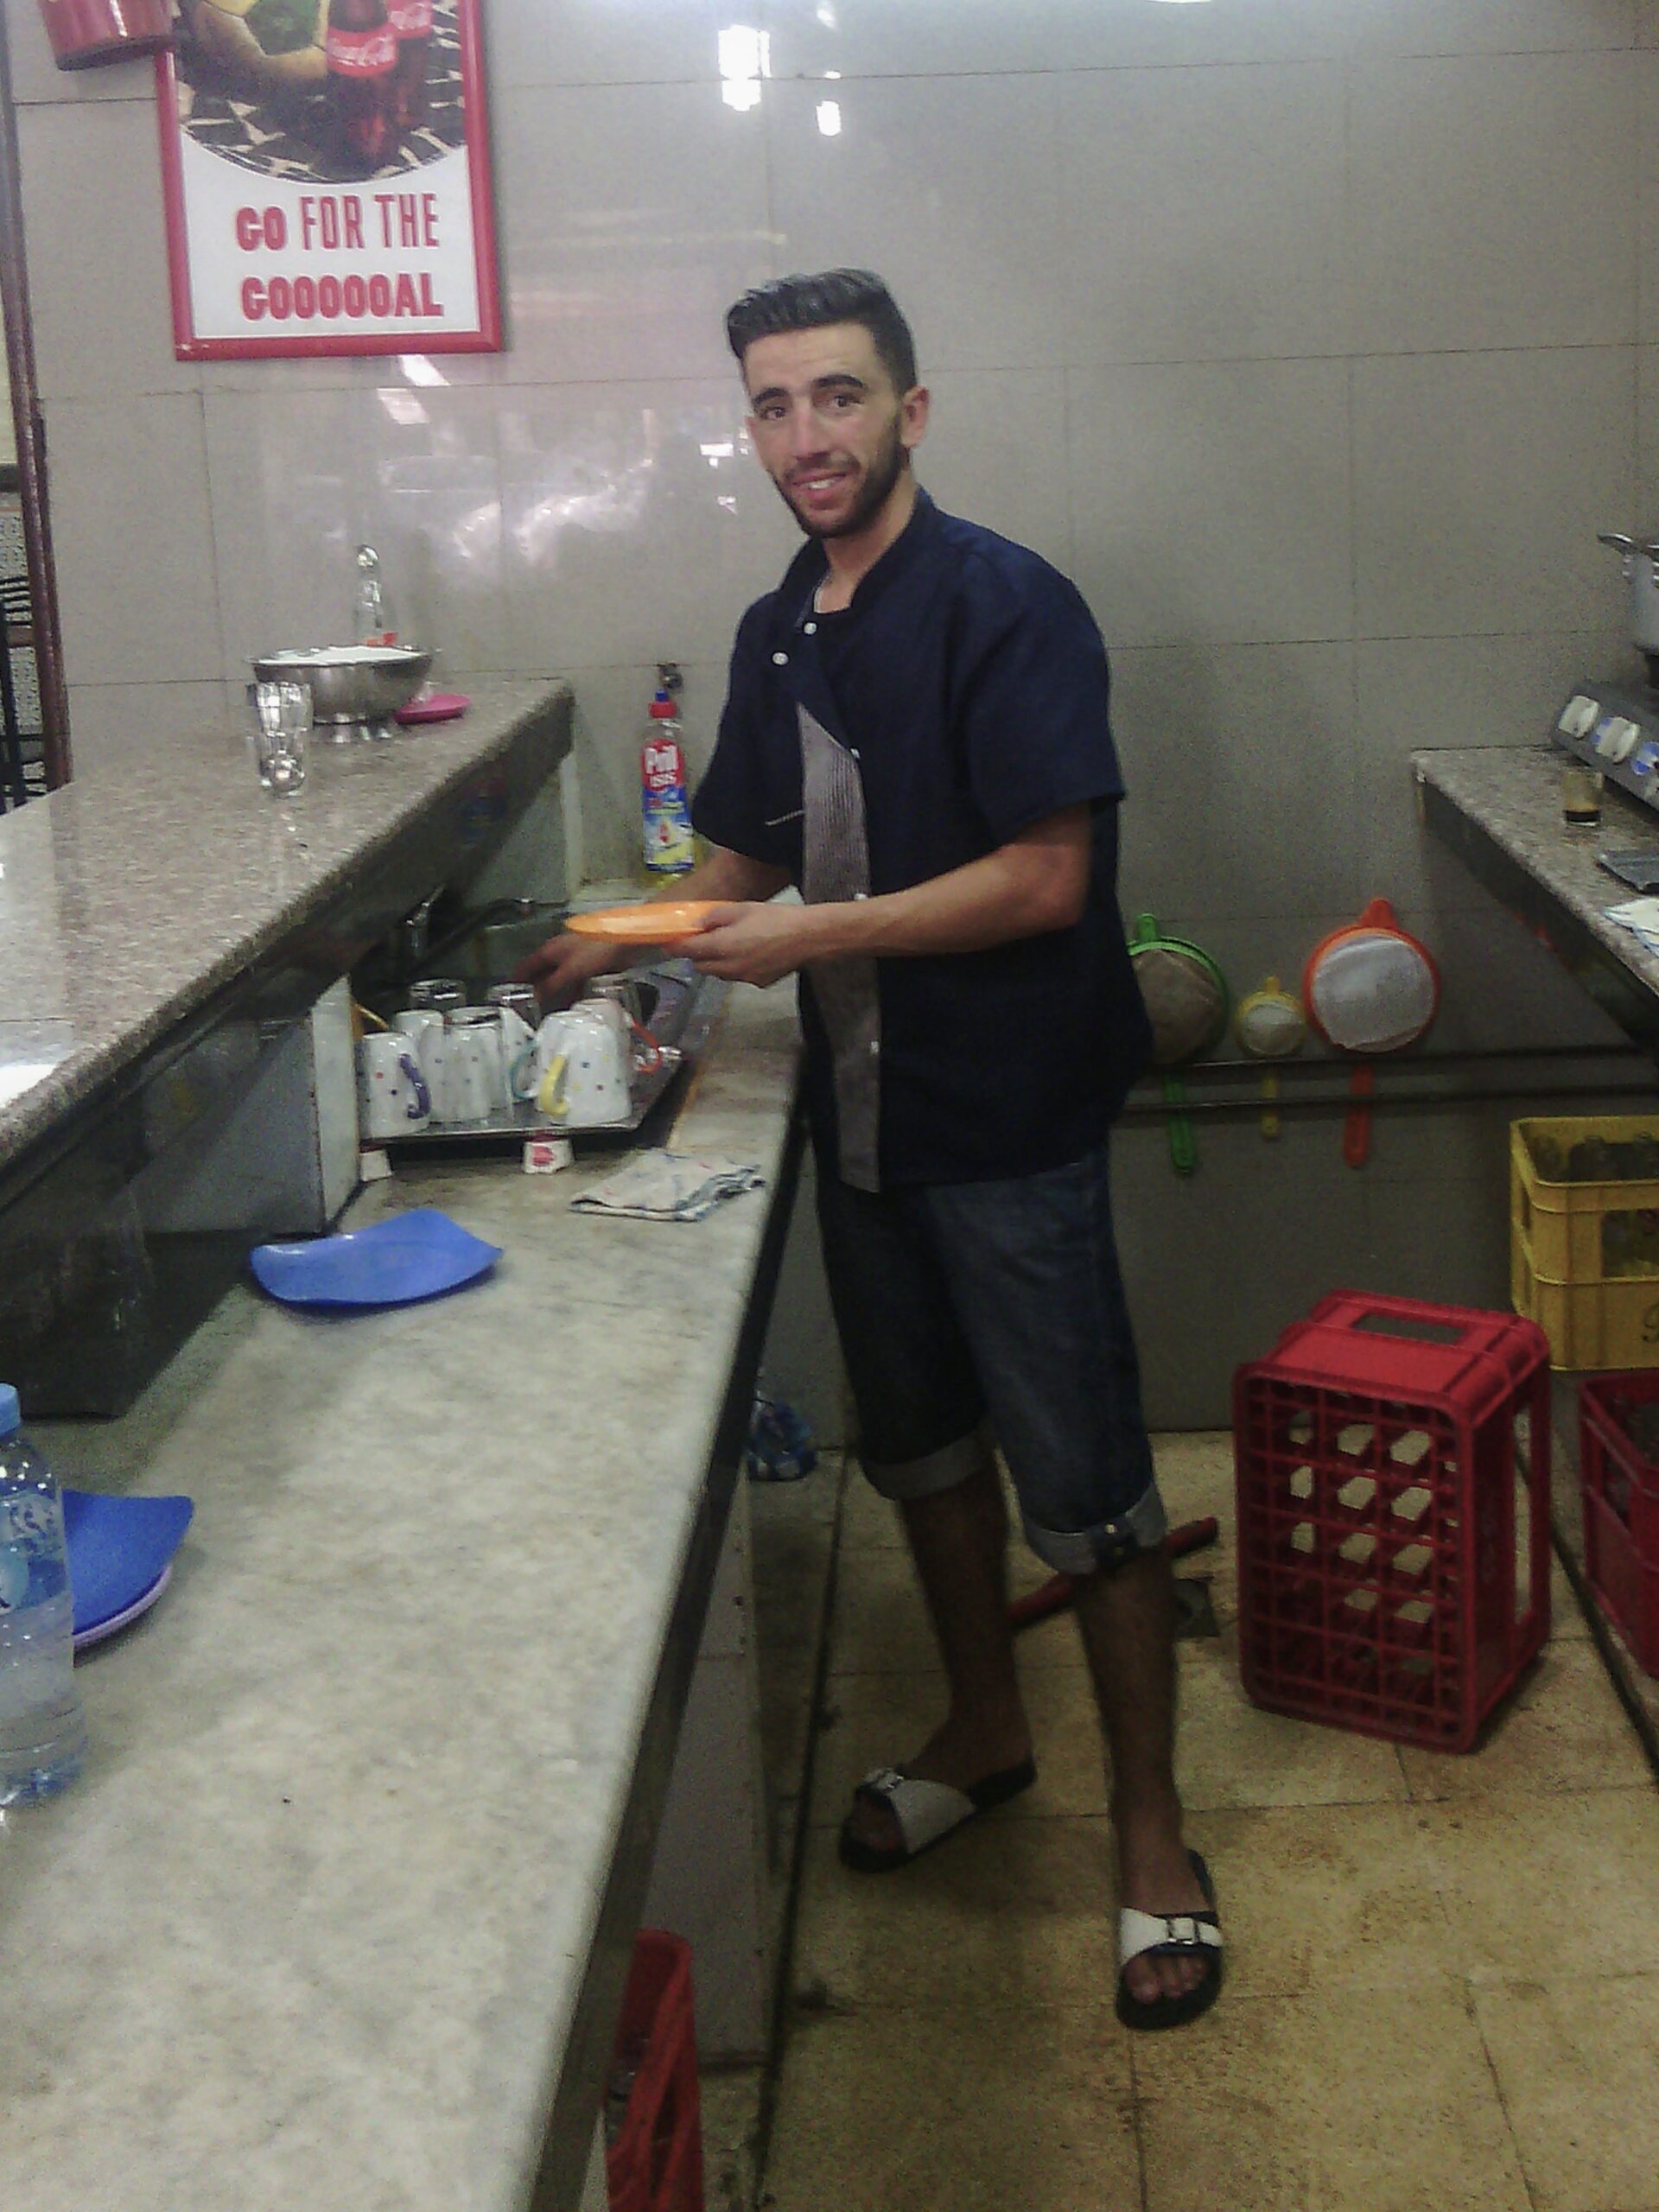
Khireddine before — Algeria
2016 — Algeria
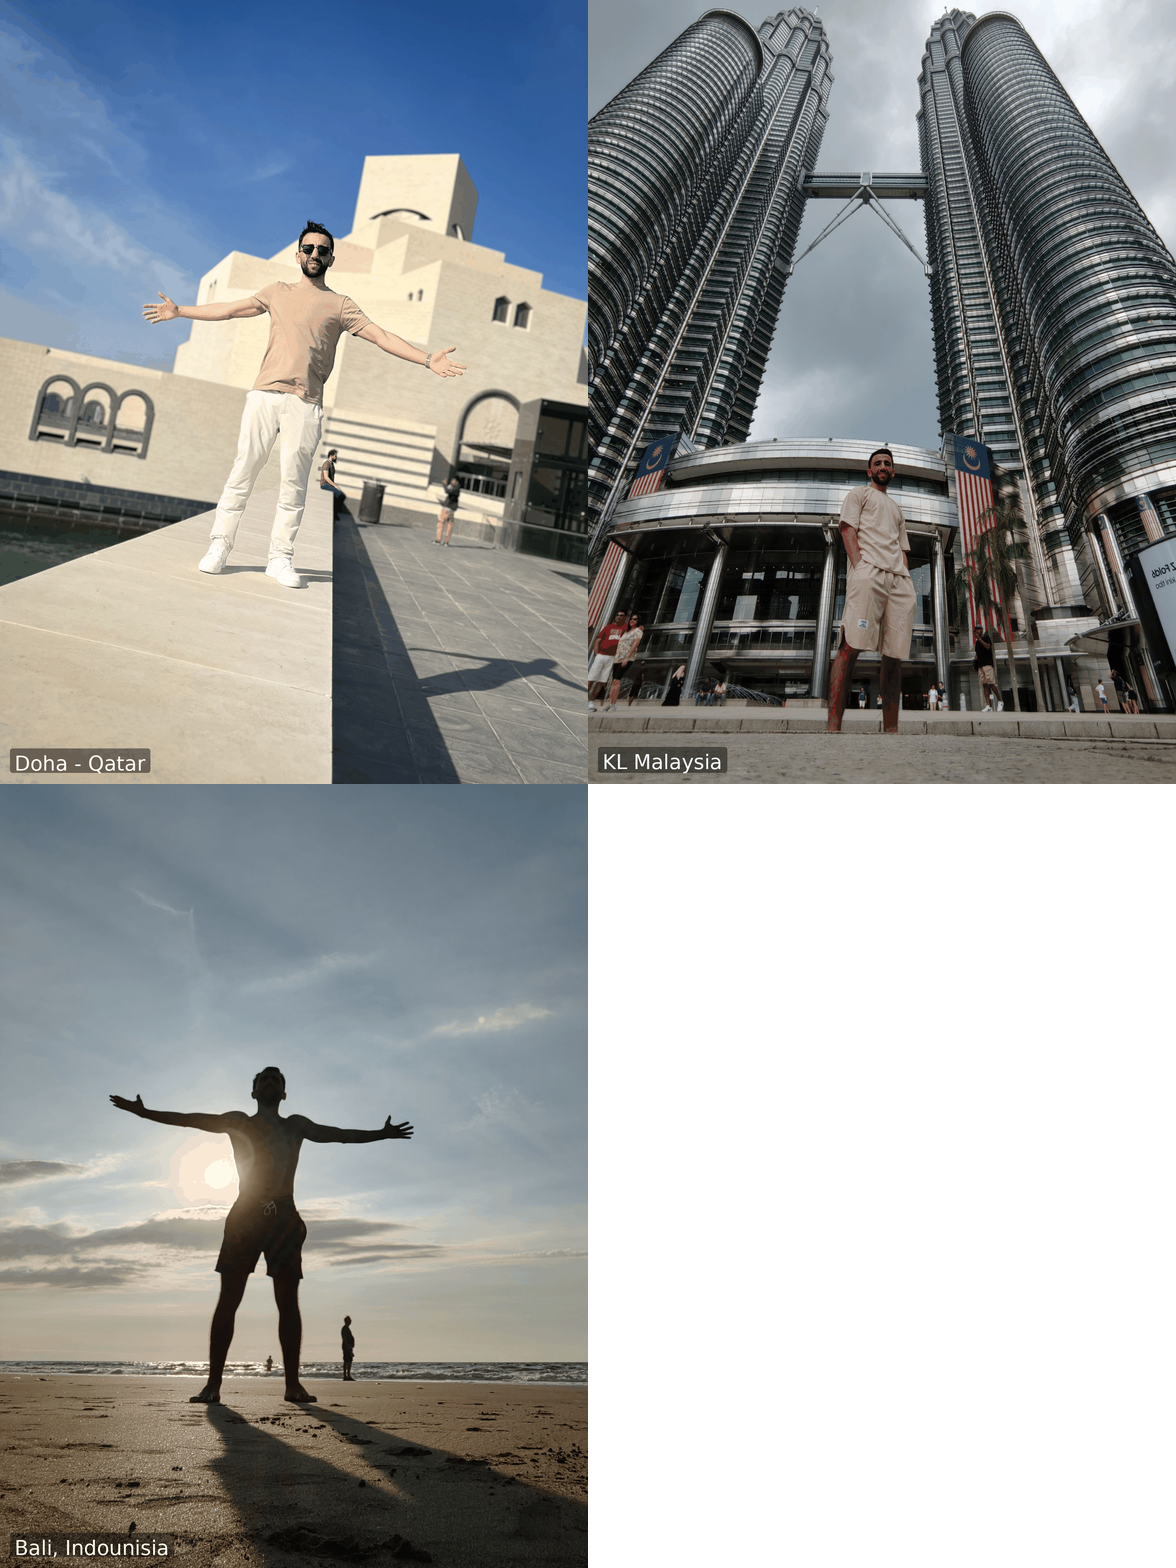
Khireddine in Doha, Qatar

A small village. An i3 laptop. And 3ds Max.

I picked up 3ds Max one year before graduating because I could not afford a 3D artist for my final project — a large urban design development. I had to learn it myself.

Right after graduation in 2016, a local firm in Algeria hired me for a full archviz project. The price was low. But it told me something important: this was a skill most architects did not have.

I went fully freelance. I launched ZKArchitects. I landed my first Upwork client in the GCC — small budget, but it was confirmation that the dream was possible. The contracts grew. Saudi Arabia, UAE, Qatar, Canada, Pakistan.

I woke up one morning in Kuala Lumpur — a city I had only ever seen on Instagram — and looked out at the towers. As an architect who builds 3D worlds for a living, that moment hit differently.

"I started ZKAcademy because I believe my story deserves to be shared. A young guy from a small village in Algeria, weak internet, an i3 laptop — who built the life he wanted. If that story can push someone forward, it is worth telling."

Built for three kinds of people.

Architecture Students
You want your graduation project and academic work to look like professional practice. This course teaches you to present your designs the way firms actually present to clients.
Junior Architects
You have the design knowledge but need the visualization skill that makes you indispensable in a studio — or gives you the confidence to work for international clients.
Freelancers
You are on Upwork or Behance and want to charge more, win better projects, and produce renders that clients share. A strong archviz workflow is what separates a $50 job from a $500 one.

14 modules. Everything included.

From your first day in 3ds Max to your final atmospheric exterior render — the complete path, in order.

01Introduction
Course overview and setup

Course walkthrough, software requirements, project files overview, and how to get the most from the lesson structure used across all 14 modules.

  • 013ds max Interface
  • 023ds Max Workspace
  • 03How to Navigate Inside 3ds Max
  • 04Move Rotate and Scale
  • 05Duplicating in 3ds max
  • 06Units setup & scene scale
  • 07Layers, Groups and Selection Sets
  • 08Pivot points and Align Tools
023D Modeling Basics
3ds Max fundamentals

3ds Max interface, navigation, splines, Editable Poly, essential modifiers. Building objects that are clean enough to render well and fast enough to work with.

  • 01How 3ds Max Builds Geometry
  • 02How to Create Splines
  • 03How to Edit a Spline
  • 04Extrude & Bevel
  • 05Sweep & Loft
  • 06Editable Poly fundamentals
  • 07Core Polygon Modeling Tools
  • 08Essential Modeling Modifiers
03Villa Modeling
Full exterior project from plans

Building a complete neoclassical villa from architectural drawings — columns, cornices, gates, perimeter wall. Learning to think like a designer before you model.

  • 01Importing and Setting Up the Plans
  • 02Modeling walls
  • 03Modeling the Floors
  • 04Modeling Windows
  • 05Modeling Architectural Elements
  • 06Entrance and Balconies Modeling
  • 07Modeling Corniches
  • 08Modeling Railing
  • 09Modeling Windows Strips
  • 10Lanscape modeling
04Interior Modeling
Open-plan apartment from reference

Modeling a full open-plan kitchen and living space from reference images and moodboards — the way most real archviz commissions actually work.

  • 01Introduction
  • 02Modeling The shell
  • 03Curtain wall modeling
  • 04Kitchen Cabinet Modeling
  • 05Kitchen Island Modeling
  • 06TV Wall Modeling
  • 07L Sofa Modeling - Part 01
  • 08L Sofa Modeling - Part 02
  • 09Pillow Modeling
  • 10Curtains Modeling
  • 11Carpet and Coffee Table Modeling
  • 12Floor and Ceiling Modeling
  • 13Importing assets to the scene
  • 14Seting up Connecter for 3ds Max
  • 15Modeling the Knoll Barcelona Chaire - Part 01
  • 16Modeling the Knoll Barcelona Chaire - Part 02
05V-Ray Setup and Render Engine Fundamentals
Understanding V-Ray from the ground up

How V-Ray works under the hood — GI, sampling, color mapping, the VFB. Removing the guesswork so every setting you touch in later modules makes sense.

  • 01Setting V-Ray as the Active Renderer
  • 02V-Ray Frame Buffer (VFB) interface, history, and color corrections
  • 03Understanding the Render Elements Panel
  • 04Image Sampler & Noise Threshold (Progressive vs Bucket)
  • 05Global Illumination explained
  • 06Output Settings
06The 6 Keys to a Professional Render
Core theory before the practical scenes

The six principles that separate a basic render from a portfolio-ready one: camera, lighting, materials, render settings, composition, and post-production.

  • 01Vray Materials That Look Real
  • 02UV Mapping Done Right
  • 03See Like a Camera (The Vray Phisical Camera)
  • 04Light with Perpose (Vray Lighting)
  • 05Composition That Directs the Eye
  • 06The Story Behind the Image
07Interior 1 — Living Room
Day-to-night transition

City skyline backdrop, HDRI to practicals transition, Reinhard color mapping, VRayCryptomatte masking for glass reflections. Full post-production in VFB and Photoshop.

  • 01Camera Placement, Composition & Story
  • 02Lighting, Day-to-Night Transition in V-Ray
  • 03Building Materials
  • 04UV Unwrapping
  • 05Exposure Rebalancing After Materials
  • 06Final Render Settings & VFB Adjustments
  • 07Post-production
08Interior 2 — Kitchen
Golden hour with volumetric light rays

VRaySun + VRaySky workflow, light shaft technique, UVW mapping scale fix for wood grain, post-materials exposure breakdown lesson.

  • 01Camera Placement, Composition & Story
  • 02Lighitng, Golden Hour Breakfast
  • 03Materials
  • 04Post-Production
09Interior 3 — Bedroom
Multi-zone temperature story

3-zone color temperature layout. Light Mix render element optimization, Irradiance Map GI, per-zone Cryptomatte grading, dodge and burn.

  • 01Camera Placement, Composition & Story
  • 02Lighting, the Three-Zone Story
  • 03Materials - Woven Cotton
  • 04Final Render Settings & VFB Adjustments
  • 05Post-Production
10Interior 4 — Bathroom
100% artificial late-night lighting

4-tier lighting hierarchy, GI color-cast fix with VRayOverrideMtl, VRayBlendMtl wet floor material, dark stone and matte tub materials.

  • 01Camera Placement, Composition & Story
  • 02Lighting, Artficial Lighting
  • 03Materials
  • 04Post-production
11Exterior 1 — Villa Facade
Bright midday classical exterior

3-stage camera iteration, high-altitude VRaySun, white facade exposure control, white balance correction lesson, full landscaping with cypress trees and background massing.

  • 01Camera & Composition
  • 02Greenery & Enviroment
  • 03Lighitng
  • 04Materials
  • 05Post-Production
12Exterior 2 — Modern Villa Pool
Blue hour twilight with underwater lighting

Pool LED lighting, water material with dual sky reflection and internal glow, caustics noise fix, teal-and-orange grade, Photoshop caustic sparkle enhancement.

  • 01Camera & Composition
  • 02Lighting, Blue Hour & Underwater
  • 03Materials
  • 04Post-Production
13Exterior 3 — Urban Townhouse
Rainy night street scene

Full scene from Chaos Cosmos, 3 rain techniques, warm streetlamps, wet pavement reflections, taxi and pedestrian story props.

  • 01Building the Scene, Camera, and Story
  • 02Lighting
  • 03Materials
  • 04Adding Rain to the Scene
  • 05Characters and Motion Blur
  • 06Post-Production
14Exterior 4 — A-Frame Cabin
Misty overcast morning — final module

Shadowless lighting, environment fog, scatter tools for foliage, one warm window as the sole story element. Final lesson: restraint is a skill — knowing when to do less.

  • 01Scattering Foliage , Camera, and Story
  • 02Lighting, Shadowless Morning
  • 03Materials
  • 04Post-Production

One course. Complete workflow.

Everything you need to go from your first day in 3ds Max to a professional archviz portfolio, in one structured course.

3ds Max + V-Ray Archviz Course

Complete architectural visualization training — modeling to post-production

$297

One-time payment — lifetime access

  • 14 modules from 3ds Max basics to advanced exterior rendering
  • 8 complete practical scenes built from scratch
  • Camera, lighting, materials, render settings, and post-production in every module
  • Downloadable project scene files
  • V-Ray VFB and Photoshop post-production included in every module
  • Lifetime access — including all future updates
  • Taught by a working architect with 8 years of international client work
Enroll Now — $297

Secure checkout. Questions? Contact us

Frequently asked questions.

Do I need experience with 3ds Max to start?
No. The course starts from the 3ds Max interface and modeling basics. If you already know your way around 3ds Max, Modules 1–4 will be a quick foundation pass before the rendering content begins.
What if I don't understand something or run into a problem following the tutorials?
You won't be left on your own. Every student gets access to a private Discord channel reserved exclusively for course members, with unlimited support. Post your question or a screenshot of your scene, and you'll get help until the problem is solved.
What software do I need?
3ds Max and V-Ray. Both require paid licenses. Autodesk offers free student versions of 3ds Max. A V-Ray trial is available directly from Chaos. Adobe Photoshop is used in the post-production lessons.
What computer specs do I need?
A dedicated GPU with at least 6GB VRAM is recommended for comfortable V-Ray GPU rendering. The course was built and tested on a standard workstation — not a render farm.
Is this course useful if I want to freelance on Upwork?
Yes. The 8 practical modules are designed to build a portfolio covering 4 interior and 4 exterior scenarios — the range clients on Upwork and Behance look for before hiring an archviz artist.
How long will I have access?
Lifetime access. One payment, no subscription. All future updates to the course are included at no extra cost.
Is post-production really included in every module?
Yes. Every practical module ends with a full post-production lesson — V-Ray VFB adjustments, render elements, Cryptomatte masking, and Photoshop finishing. Not a brief mention: a complete dedicated lesson.
Can I learn at my own pace?
Yes. The course is fully self-paced. There are no live sessions or deadlines. You access all modules immediately after enrollment and work through them on your own schedule.
What is the refund policy?
Because you get instant access to all course content, we do not offer refunds once you have enrolled. Technical problems like broken files or access issues are always fixed, and duplicate payments are refunded. Read the full Refund Policy, and try the free course first to make sure the teaching style suits you.